
DIY Purse for Descendants Evie

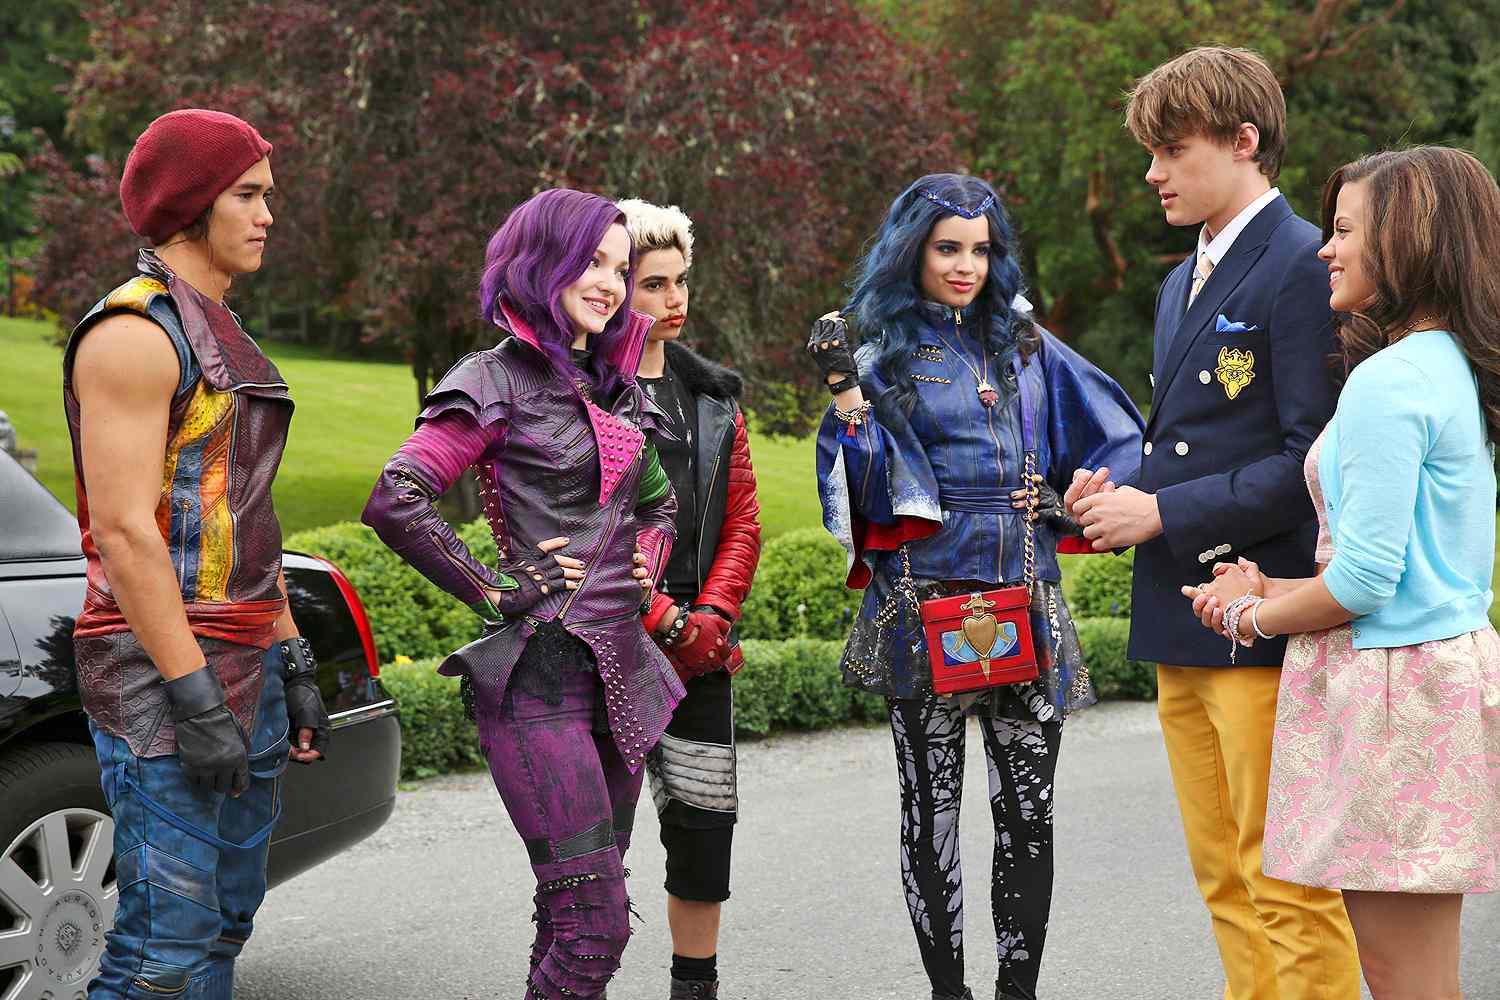
Lil C is being Mal from Disney Descendants this Halloween so I told her I'd be Evie so we could match. I put together an Evie-like outfit with a cute blue top, black mini skirt, black tights, and black boots. I also bought an Evie necklace and tiara set and some blue hair spray. I was set on that being my costume until I happened to see a photo of Evie from the first Descendants movie with this cute boxy purse:
Then I decided I needed a purse! (alright, maybe I don't really NEED the purse, but I was feeling crafty and I wanted it!) My challenge was to make it with items already in the house because I didn't want to spend any more money on this costume - or have to leave the house if I'm being totally honest. I remembered I had a pile of large craft foam sheets in the closet so I grabbed a red one and got started - it's about 15"x19".

After some measuring and cutting, I had these two base pieces. The one on the left is 7.5" wide and 19" tall, marked off and folded at 5.5", 9", 14.5", and 18". The piece on the right is 7.5" long in the middle with 5.5" sections at the top and bottom with side flaps for gluing.

Once you have your pieces, the next step is to glue them together as shown above. Then you will fold up the front and back and glue the flaps in place to form a box. I lined the inside of the purse with cardboard to make it sturdier and stiffer. Fyi, it can be a little difficult to fold and glue the pieces into a box because the foam is so floppy - in hindsight, it might have been easier if I had glued on the cardboard pieces first and then glued the box together but I still got the end result I wanted.

Next, I had to figure out a way to attach the shoulder strap (the shoulder strap came from a clutch purse - I never use the shoulder strap so I wouldn't even miss it). I realized I simply needed some sort of loop to attach the clips to. So I searched in our crafting supplies and found a bunch of soda can tabs! I forgot to take pictures during the process but this is what I ended up with. **If you don't have a spare purse strap, you could always just tie a string to the loops - a long shoelace could work or even several strands of yarn braided together - or tie a bunch of can tabs together to make a chain strap!

I cut two identical blue foam pieces for each can tab. I laid the tab on top of one of the pieces and put a big glop of hot glue into the bottom hole and pressed the other foam piece on top. Then I glued the edges of the two foam pieces together and glued the hole thing onto the side of the purse. Repeat for the other side.
At this point I was just so excited to finish the bag I also forgot to take photos of the decorations in stages but it should be fairly easy to see from the photo.

The main part is a 3"x6" rectangle cut from light blue foam. I drew the designs onto it using blue and gold permanent markers. Then I cut and colored a small triangle to extend to the bottom of the purse (the design looks like a sword behind the heart). Finally I cut a 3.75"x2.5" heart out of white foam and colored it gold. IMPORTANT: When you glue the heart on, do not put any glue across the top or middle. As you can see above, the piece from the top slides behind the heart, keeping the purse closed.
As for the top, I first glued a .75"x4.5" strip of blue foam down the middle of the top. Then I drew a .75"x3" rectangle on white foam and drew the curly mustache-y shape at the top (keep it in the top inch of the rectangle so it doesn't go past the edge of the flap. Color that piece gold, cut it out and glue along the path of the blue strip. The part of the strip hanging down will slide behind the heart closing it. Then all that was left was to clip the strap on!
I will have to find a little magic mirror to put in my purse and then put some Halloween candy of my own in it! Happy Halloween!


0 comments: