Chocolate chip cookies come in all kinds of textures, shapes, and sizes - not to mention the ways to change up the add-ins, chips, chunks,...
Chocolate chip cookies come in all kinds of textures, shapes, and sizes - not to mention the ways to change up the add-ins, chips, chunks, white, milk, dark chocolate, M&Ms...but what happens when you don't have enough cookies for all of your friends?
This post contains affiliate links. As an Amazon Associate, I may earn a commission on qualifying purchases - at zero cost to you.
While it is actually a chilly rainy windy day here, it's May and we're all thinking about warm weather and pools and...ice cream! To...
While it is actually a chilly rainy windy day here, it's May and we're all thinking about warm weather and pools and...ice cream! Today's story takes us back over 100 years to the time 11 year old Frank Epperson accidently invented the popsicle!
This post contains affiliate links. As an Amazon Associate, I may earn a commission on qualifying purchases - at zero cost to you.
In honor of International Day of Women and Girls in Science this year, we got a big stack of picture books about female scientists from th...
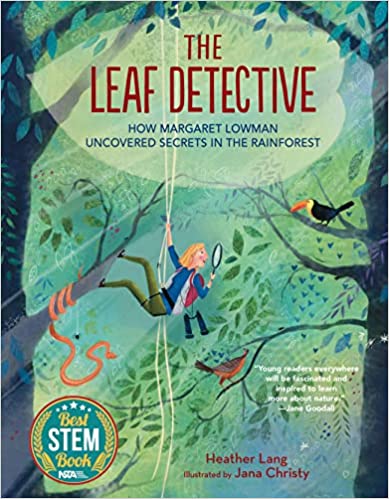
In honor of International Day of Women and Girls in Science this year, we got a big stack of picture books about female scientists from the library. Out 14 amazing women, I had only heard of 2 of them! One of the new scientists I was introduced to was Dr. Meg Lowman. Her story is amazing! She was the first person to actually climb up into the rainforest canopy to study wildlife and helped create canopy walkways so more people could study and experience the wonder of the canopy!
This post contains affiliate links. As an Amazon Associate, I may earn a commission on qualifying purchases - at zero cost to you.
We picked up a bunch of books about amazing female scientists from the library last month and have been slowly reading through them and do...
We picked up a bunch of books about amazing female scientists from the library last month and have been slowly reading through them and doing extension activities. This is the first of many I will be sharing!
This post contains affiliate links. As an Amazon Associate, I may earn a commission on qualifying purchases - at zero cost to you.
I came across an activity for drawing Harvest Skies in the style of Vincent Van Gogh on Crayola's website and I decided it would be t...
I came across an activity for drawing Harvest Skies in the style of Vincent Van Gogh on Crayola's website and I decided it would be the perfect inspiration for a little artist study.
First we watched some videos to learn a little bit about Van Gogh.
"Katie and the Starry Night" by James Mayhew is an adorable story about a little girl who explores the paintings on Van Gogh really up close! It's a great introduction to several of Van Gogh's paintings.
To learn a little more about the artist himself, we enjoyed the short animated video, "Art with Mati and Dada: Van Gogh."
And finally, it was time to create! It was a beautiful afternoon so we took all our art supplies outside and set up on the patio. Using the following landscape paintings as inspiration, we set off to create our own landscapes.
Before we get into it, I have a little disclaimer that I'm sure I'll repeat with all our art lessons. When we learn about artists, we like to look at several of their pieces and learn about their methods, styles, and favorite themes. After that, I present the kids with an art activity that builds on those things. I give a few parameters to the project, but the important thing is that the kids get to create their own original piece of artwork inspired by what they have seen and learned. Replication is not the goal and there's no right or wrong way to make art. Also, I highly encourage you to get in on the art action with your kids!
Here were the parameters of our Van Gogh inspired landscapes:
1. Create a landscape - choose any outdoor setting you like
2. Use pencil to draw your large shapes (ex. horizon line, hills, mountains, trees...) then use oil pastels to color it in
3. (optional, depending on age) We noticed in the paintings that Van Gogh liked to use a lot of short strokes that came together to create a shape rather than carefully drawing the outline and filling it in. Color in your landscape using lots of short strokes and use various shades of color together.
I absolutely love how we all started with the same inspiration pieces and yet all of our landscapes ended up looking completely different!
Reptiles can have a reputation for being creepy and cold and slimy and I get it - they just don't look as adorable and cuddly as puppi...
Reptiles can have a reputation for being creepy and cold and slimy and I get it - they just don't look as adorable and cuddly as puppies and kitties! But there are some seriously cool reptiles out there so while I realize I'm not going to turn each and every one of you into a reptile lover, I hope to at least help you see how amazing they are and deserving of our respect and protection.
This post contains affiliate links. As an Amazon Associate, I may earn a commission on qualifying purchases - at zero cost to you.
International Dot Day is coming up on September 15th so I thought it was the perfect time to share this book with you all! "The Dot...
International Dot Day is coming up on September 15th so I thought it was the perfect time to share this book with you all! "The Dot" by Peter H. Reynolds tells the story of Vashti, a little girl who is convinced she can NOT draw! So her teacher prompts her to simply draw a dot, and then sign it. Vashti, encouraged by her successful first dot, continues to create dots - small dots, large dots, colorful dots...until she has many pieces of art to display at the school art show. A little boy is in awe of her talent and wishes he could be as great of an artist but says he "can't draw a straight line with a ruler." So Vashti extends her newfound confidence to the little boy and prompts him to draw a line on a piece of paper...and then sign it.
I think the message of "The Dot" is fantastic! For one, it reminds readers that when it comes to matters of creativity and artistic expression, there's no one right way to do it. Your art is yours and it doesn't have to look like your sibling's or classmate's or teacher's.
Additionally, I think "The Dot" sends a message that extends far beyond art. And that is, when learning something new, start small. Vashti was frustrated because she felt like she couldn't draw. But maybe she was just expecting too much. All of us will feel like failures if we start out trying to paint like Van Gogh or skateboard like Tony Hawk! So Vashti's teacher helped her start small so she could build her confidence. After one dot, Vashti experimented with size and single colors and blending colors and even negative space! The strategy of starting small can be applied to almost anything you're trying to learn like cooking or writing or riding a bike.
I've actually been working on practicing this myself because my head always gets filled with so many grand ideas and I had a tendency to try to go big and then fail because I never learned how to do it small. But it can be frustrating to start small because it takes longer. And by the time I've worked up to the first big idea, I've had 73 other grand ideas! But I've been trying to remind myself to keep at it and take it slow because 1 successful idea is still better than 73 partially completed failed ideas. And just maybe, that 1 successful idea will help me accomplish some of those other ideas more quickly in the future...
This post contains affiliate links. As an Amazon Associate, I may earn a small commission on qualifying purchases - at zero cost to you.
This is a super easy DIY dinosaur excavation that uses dried oobleck to encase the dinosaurs/fossils. For instructions on how to make the oo...
This is a super easy DIY dinosaur excavation that uses dried oobleck to encase the dinosaurs/fossils. For instructions on how to make the oobleck, check out my sensory play tar pit post. After you've made the oobleck, drop in some dinosaur toys, prehistoric creatures, bug toys, shells, rocks, and/or shark teeth.
Let the mixture dry for a day or two - if you can put it out in the sun it will help it dry faster. Once it looks completely dry and starts cracking a bit, gently flip it out onto a tray. We got the tray in the above photo in the dollar spot at Target several years ago but you could always just use a large foil pan. Then arm your kids with a wooden hammer and chisel, a paintbrush, and a magnifying glass and let them excavate! (If you don't have a wooden hammer and chisel, random play dough tools can do the job as well. The materials cracks apart really easily so you don't really need anything specific.)
Uncovering treasures hidden inside!
Brushing off the fossil very carefully and showing Daddy what he uncovered!
I put the tent up over them to shade them from the sun and because it made it feel even more like a dig site!
After everything had been excavated, Lil C and Squidgy had a great time pulverizing the dried oobleck into dust and they played in it for hours! I had other activities ready to go but they spent the whole afternoon here, turning the oobleck powder into a small world for their creatures. And then Lil C had the idea to add water back to the powder, creating oobleck once more! Now the whole process has begun again!
Do you love dinosaurs and other prehistoric creatures? Do you think it would be cool to discover the fossil of a never-before-seen creatur...
Do you love dinosaurs and other prehistoric creatures? Do you think it would be cool to discover the fossil of a never-before-seen creature? Or maybe solve the mystery of why the dinosaurs all died? Have you ever dreamt of being a paleontologist? Well, Addison Rue has.
This post contains affiliate links. As an Amazon Associate, I may earn a commission on qualifying purchases - at zero cost to you.
In "Addison Rue is a Paleontologist" by Samantha Cruz - the first book of the series, "Addison Rue and the Big Dreaming Book" - Addison Rue drifts off to sleep and finds herself right in the middle of a dig site! She realizes that she is a paleontologist and as so it is her job to learn about the past by studying fossils. As luck would have it, there are bones buried in her dig site! What does she uncover? You'll have to pick up this book to find out!
As homeschoolers, books like "Addison Rue is a Paleontologist" are fantastic for introducing unit study topics and building interest. After reading the story with my children (author Samantha Cruz kindly gifted us a digital copy for review), we were ready to become paleontologists. Or, almost ready...
Before we could excavate dinosaur fossils, we had to help them get trapped in tar pits where they could be preserved so as paleontologists we could uncover them millions of years later. To make our tar pits, we turned to our favorite non-Newtonian substance - oobleck.
Tar Pit Oobleck
Materials:
- cornstarch
- used coffee grounds
- water
- (optional) coffee
Directions:
1. Pour cornstarch into plastic bin. We used cold cuts containers and poured 2 cups of cornstarch into each one. (I HIGHLY recommend making a separate bin for each child, it makes things so much simpler.)
2. Add some used coffee grounds. We added about a 1/4 cup to each bin.
3. Add water (and coffee, if desired). I've often read a good ratio of cornstarch to water is 2:1 so we added 1 cup of liquid. However, our oobleck was too runny and we needed to add more cornstarch. Next time we do it I would start with a 1/2 cup of liquid and add a tablespoon at a time until we get the right consistency.
4. Stir it all together and start playing! We collected toy dinosaurs and prehistoric creatures as well as some bugs. As soon as you drop one onto the oobleck it slowly starts sinking in!
Since it's summer, this activity was definitely best done outside - much easier cleanup! I also put out a pot of water for rinsing hands/toys and a washcloth for each of them for drying. Lil C and Squidgy had tons of fun burying the animals in the "tar pits" and just messing around with the oobleck. We were definitely out there for a couple of hours at least.
When we were all done playing for the day, we dropped a bunch of animals into the oobleck (I also added a couple rocks, shells, and shark teeth) and put the bins aside to dry for a full day or two. Come back tomorrow to find out what we did next!
During our unit on coral reefs and the ocean, we learned that oil spills are a constant problem! We decided to investigate to figure out w...
During our unit on coral reefs and the ocean, we learned that oil spills are a constant problem! We decided to investigate to figure out why they were such a big problem and what we could do to help.
This post contains affiliate links. As an Amazon Associate, I may earn a commission on qualifying purchases - at zero cost to you.
We read "Oil Spill" by Melvin Berger to find out more about how oil spills happen and how they affect plants and wildlife. "Oil Spill" also explains how experts clean up the ocean and affected animals after oil spills and provides some tips on how you can help.
We like to get our hands involved in our learning, so while I was reading the story, Lil C and Squidgy were creating their own mini oil spills.
I gave each of them a plastic shoebox filled with some toy ocean animals, a few rocks and shells, and some cleaning supplies. We removed the cleaning supplies and filled the bin with an inch or two of water.
Then I gave them a "boat" (I didn't have two small toy boats so we used Hatchimal eggs) and a little bottle of "crude oil" (cooking oil mixed with a bit of cocoa powder).
They carefully poured the oil mixture into their "boat" and then spilled the oil! They soon discovered that even though it was floating in clumps on the surface, it was not easy to clean up!
To assist in their cleanup efforts, they were each given 5 cotton balls, 3 sponge strips, a spoon, and a toothbrush. Lil C determined that soaking up the oil with the cotton balls and sponges worked better than trying to scoop with the spoon and the toothbrush didn't seem to be helpful at all! In spite of their best efforts, there was still a good amount of oil left in the water and they also discovered that everything IN the water was coated with oil!
The last part of our activity was to clean the animals (and all the other oily things while we were at it) so we could release them back into the wild! This was where the toothbrush came in handy, scrubbing the animals clean with some nice soapy water.
In the end, we learned how challenging it can be to clean up an oil spill and that the best way to help was to try and limit our crude oil use by cutting power use at home (or investing in clean energy), limiting how much we drive, and avoid single use plastics as some of them are made from oil-based plastics.
This is probably one of my favorite activities to do with kids when we are learning about plants and how they grow. Growing beans in a jar...
This is probably one of my favorite activities to do with kids when we are learning about plants and how they grow. Growing beans in a jar lets you see up close how a little seed can turn into a large plant!
This activity pairs really well with the story, "From Seed to Plant" by Gail Gibbons. There are actually instructions on how to grow your own bean at the back of the book!
We use paper towels rather than black paper - I'm thinking the paper was used to have a better contrast between your bean and the background so you can see the growth better. But we've always had good luck with paper towels! Keep reading to see how we set up our experiment.
Step 1: This year we used 8oz wide mouth mason jars. I layered 2 half size paper towels and folded them down about 2/3 of the way so they'd be as tall as the jars.
Step 2: Roll up the paper towels.
Step 3: Put the rolled up paper towel in the jar, spread it out, and pour in 1/4-1/3 cup of water. You want enough water so the paper towels can absorb it and be soaked, but you don't want the water level to be so high that the beans are sitting in the water. Once the paper towels are soaked, the water level shouldn't be higher than an inch or so. If there's too much, pour a little out before you add the beans.
Step 4: Carefully slide some beans about halfway down between the paper towel and glass. We used pinto, chickpea, and black beans. I labeled the sides of the jar with each child's initial and the date we put the beans in so we'd know whose it whose and how long they've been growing.
Step 5: Watch them grow! A couple of the beans sprouted tiny roots by the end of the next day. This is what we have after 5 days!
The jars don't have to be placed in a sunny spot, all you have to do is make sure there is a little bit of water in the bottom of the jar so the paper towel stays soaked. It's an easy job for the kids because they can glance in the jar every day and see if it needs a little extra water. Once the beans have grown out of the jar, they will need sun and soil to keep growing strong. So at that point you can either plant them or toss them.
Feel free to repeat the activity as many times as your child wants! Happy sprouting!
This month we are celebrating the earth and the amazing plants and creatures out there! First up, birds! Once spring comes, there are bird...
This month we are celebrating the earth and the amazing plants and creatures out there! First up, birds! Once spring comes, there are birds in our yard tweeting and chirping and singing almost all day. We love watching them, identifying ones we're unfamiliar with, and trying to figure out which bird makes which call. Lil C especially loves it once the summer rolls around and we can see all the kid birds around the yard. Last year there were a bunch of kid robins and 3 kid cardinals that we'd always see together.
We've been talking about birds all week, and observing the many birds in our yard. We collected a variety of nesting materials and left ...
We've been talking about birds all week, and observing the many birds in our yard. We collected a variety of nesting materials and left it outside for the birds, but unfortunately no one seemed to want anything from our pile! To see what we collected for the birds, check out my "Birds Make Nests" post.
Today I have two books and two STEAM activities that are both related to water, specifically speaking - drinking water. We all need water to...
Today I have two books and two STEAM activities that are both related to water, specifically speaking - drinking water. We all need water to survive - lots of water! In case you missed it, here's my Read and Rise post featuring "A Cool Drink of Water" and the importance of hydration. Despite our great need for clean water, about 1 in 3 people do not have access to clean water! (source: WHO).
This post contains affiliate links. As an Amazon Associate, I may earn a commission on qualifying purchases - at zero cost to you.
I have a bonus story this week, about another inspiring woman - the first Black woman to go to space, Mae Jemison! I love her so much becaus...
I have a bonus story this week, about another inspiring woman - the first Black woman to go to space, Mae Jemison! I love her so much because when she was little she wanted to travel into space and she made it happen, no matter what anyone else said! If you have a dream, I hope you find someone who will support you and help make your dream come true. As for the naysayers, just don't listen to them! This little interview with Mae where young girls get to ask her questions is so sweet and definitely worth a watch.
Here's our bonus story:
"Mae Among the Stars" by Roda Ahmed
Activity: I thought since Mae got to blast off on a rocket up into space, it would fun to make our own rockets. But once I started searching for ideas, I found so many that I couldn't choose just one! So here are a few for you to choose from:
Last, but certainly not least, I had to include the link for NASA's 2020 Mission Perseverance Rover Landing Information because the Perseverance Rover is landing on Mars TOMORROW! Live show starts at 11:15AM PST/2:15PM EST. I have already set my alarm so we don't forget to tune in!
Since we just celebrated International Day of Women and Girls in Science , I thought it would be fitting to tie women in science into our Re...
Since we just celebrated International Day of Women and Girls in Science, I thought it would be fitting to tie women in science into our Read and Rise theme of black history. Our focus today is on Katherine Johnson - technically she was a mathematician but given her work with NASA and invaluable contributions to getting rockets and men in orbit and onto the moon, I think she was a female STEM pioneer long before STEM was even a thing! Katherine actually passed away just about a year ago, at the age of 101! What an amazing life she lived, breaking down all kinds of barriers, for women and for people of color. She is and always will be an amazing role model and inspiration!
Featured story: "Counting on Katherine" by Helaine Becker
I'm including a second story which introduces children to Dorothy Vaughn, Mary Jackson, and Christine Darden who also worked for NASA. This story is much longer than the first, so it may be suited for slightly older children.
"Hidden Figures" by Margot Lee Shetterly
Activity: Just like Katherine, you can help get the rocket to the moon with this simple printable coding game! Click the link below to get your free printable.
If you want to explore coding a little further with your child, Research Parent has instructions on how to code a Lego maze with free printable coding cards. Or check out these websites with free coding lessons and games.
Our homeschooling method usually involves a lot of read alouds, preferring to use living books rather textbooks. One activity we love the mo...
Our homeschooling method usually involves a lot of read alouds, preferring to use living books rather textbooks. One activity we love the most is story-based STEAM challenges. Since Thanksgiving is only a day away, for this week's activity I chose "Balloons Over Broadway" by Melissa Sweet.
"Balloons Over Broadway" is the story of Tony Sarg, the man who created the signature balloon puppets in the Macy's Thanksgiving Parade. The story is really interesting - I learned that Macy's first parade was put together because Macys wanted to do something for the holidays for their employees, most of whom were immigrants, and included live animals!
Anyway, this story inspired us to make our own balloon puppets. Since we don't have helium, we decided to make non-floating puppets like Tony Sarg's first version.
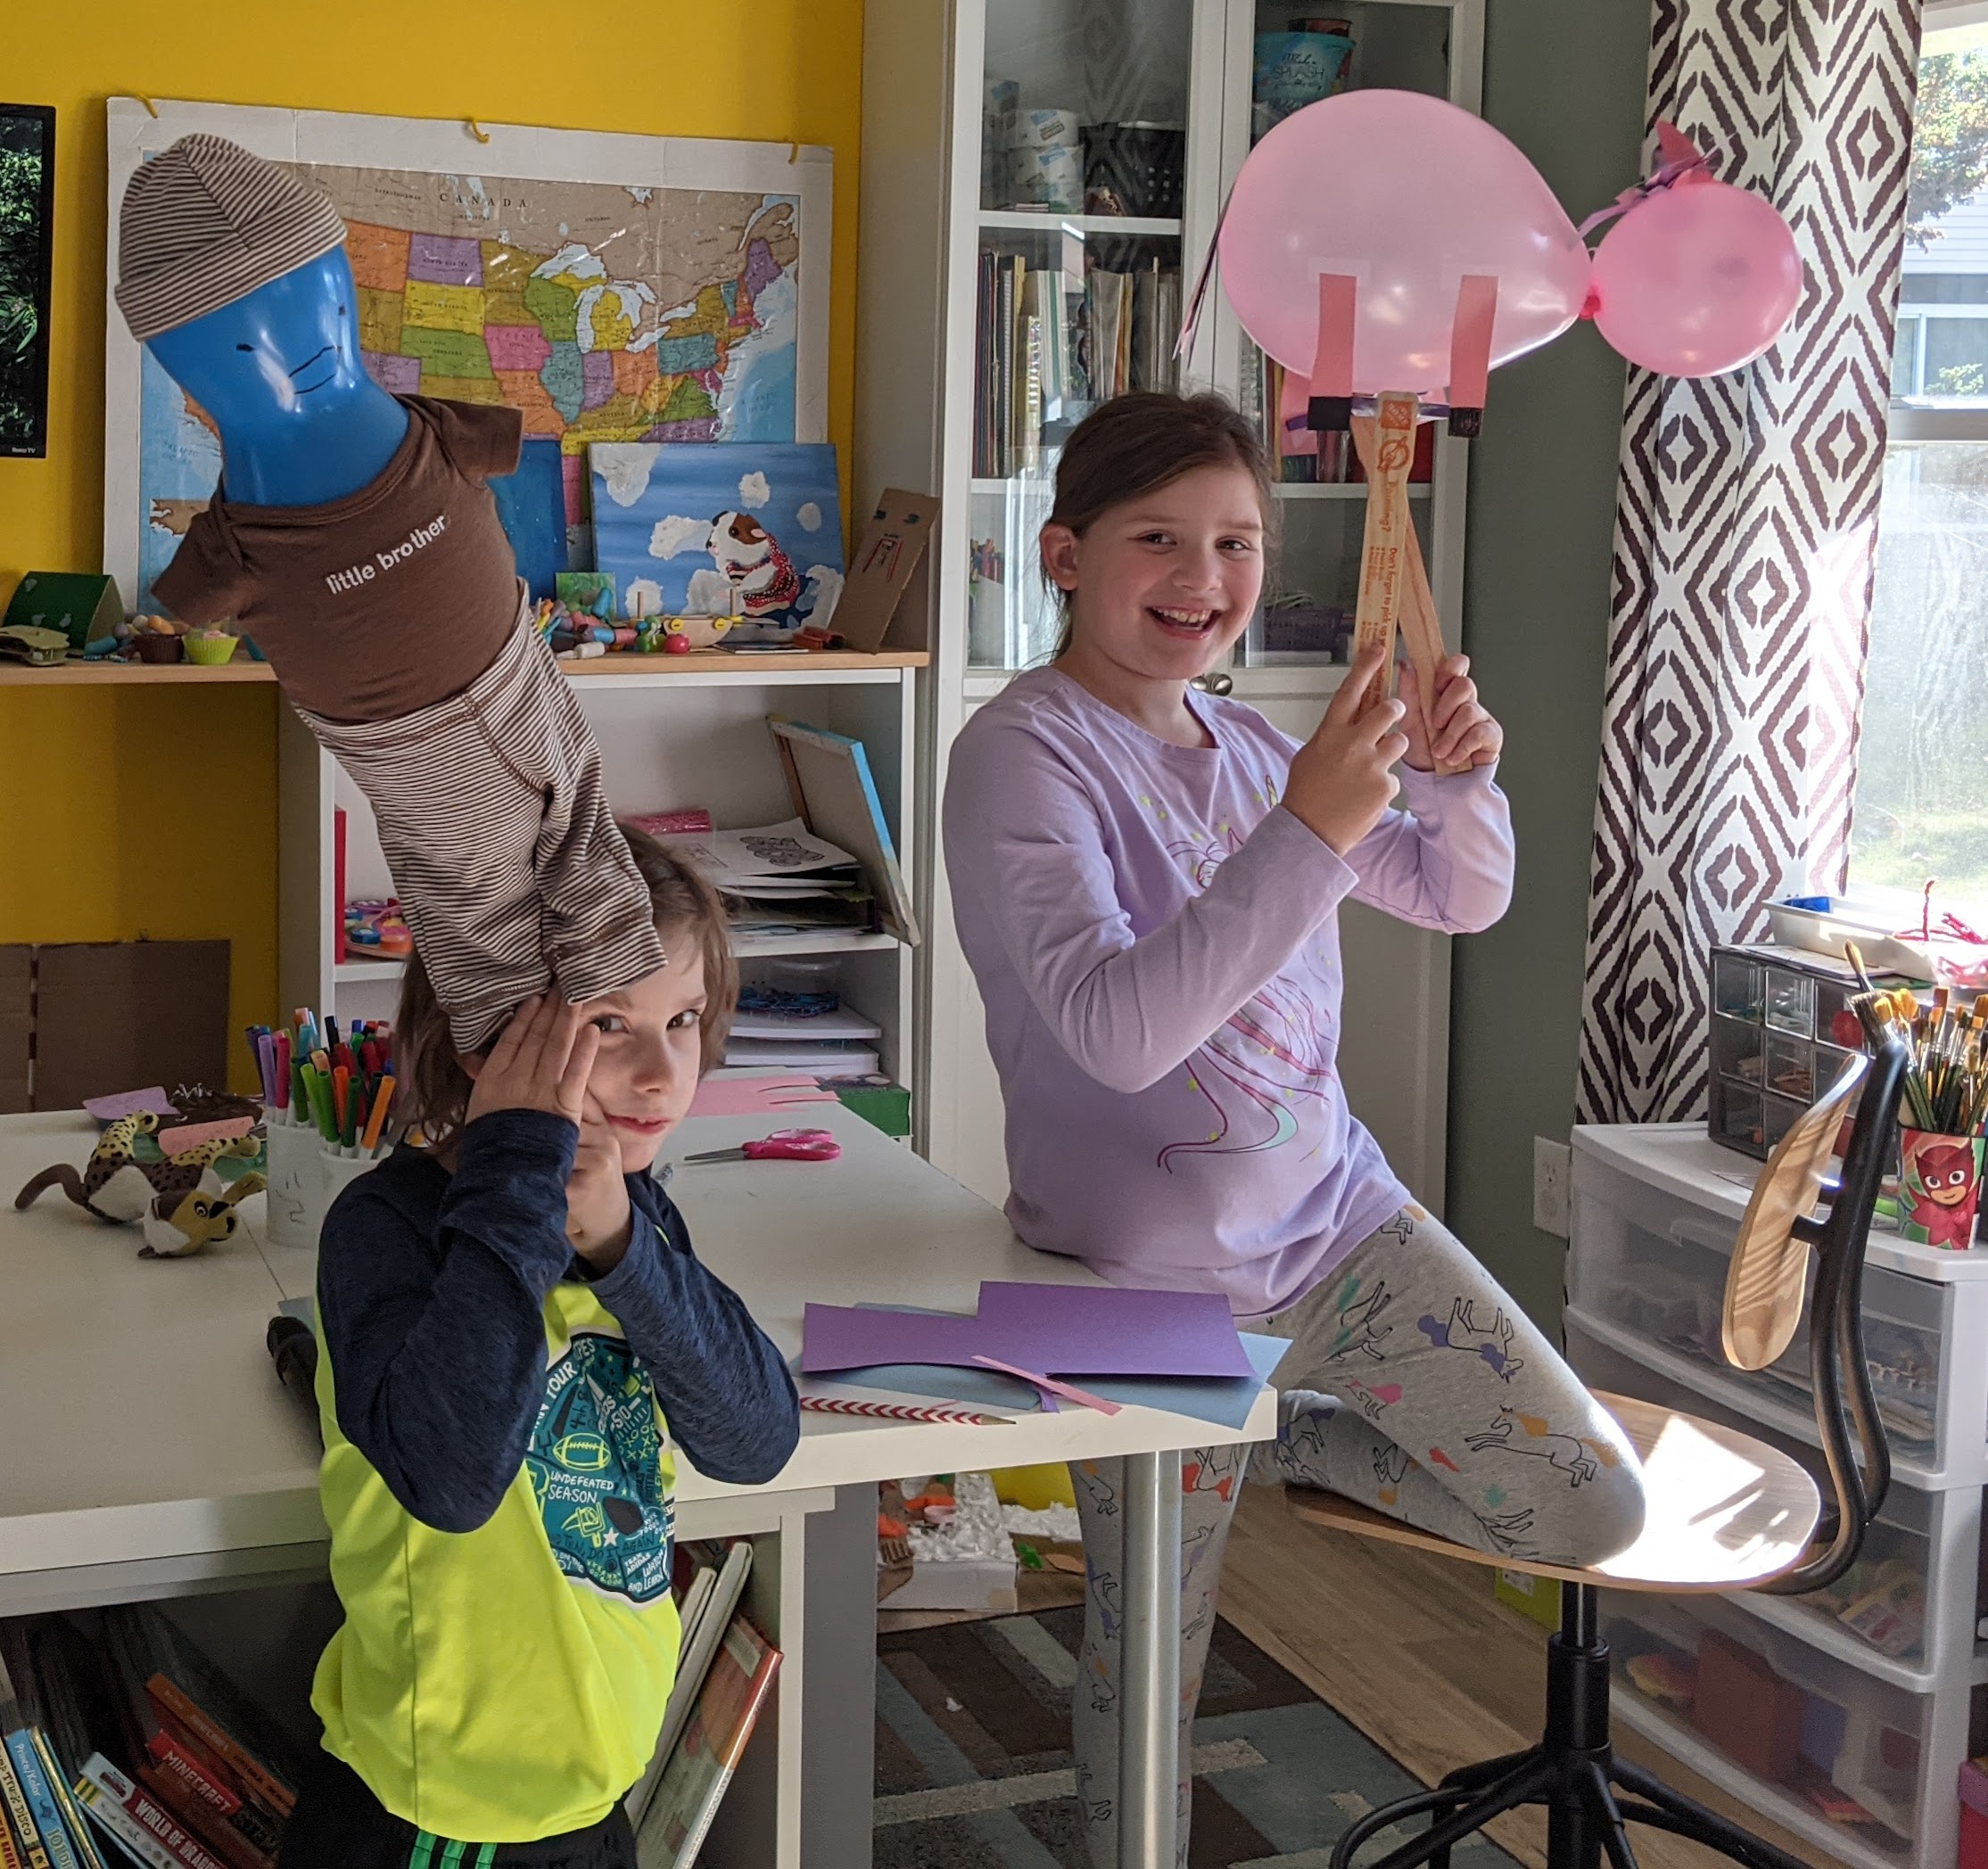
Squidgy found a balloon that kind of looked like a body and head so he decided to make a zombie. I got the idea to dig in our pile of newborn clothes that they dress dolls in and we found some clothes to dress up the zombie - who is now a baby zombie :-)
Lil C wanted to make a unicorn so I blew up one balloon smaller than the other so she could have a head and body. I tied the balloons together for her and then she was off figuring out how to make all the details. I was so impressed with how it came out! I'm not sure I would have thought of paper strips for the mane and tail. I happened to have 3 paint stirrers leftover so we taped them to the balloons for handles, but you could use wooden dowels, rulers...anything long and straight you find around your house.
Our second activity inspired by "Balloons Over Broadway" was Lego parade floats.
There's a heavy Disney theme in our parade but there are some ghosts thrown in, a Minecraft float, and Lil C made sure to add Santa and Mrs. Claus at the end just like in the read parade!
I hope you all have your own STEAM fun inspired by "Balloons Over Broadway!"
Welcome! I’m Natalie, aka Cardboard Mom. I taught Pre-K for 10 years before deciding to stay home with our first child. Now my life has evolved and I get the privilege of homeschooling and caring for our 2 children. It may not be the easiest or lowest stress job out there, but it definitely is one of the most rewarding and I wouldn’t trade this time with them for anything. Keep reading...